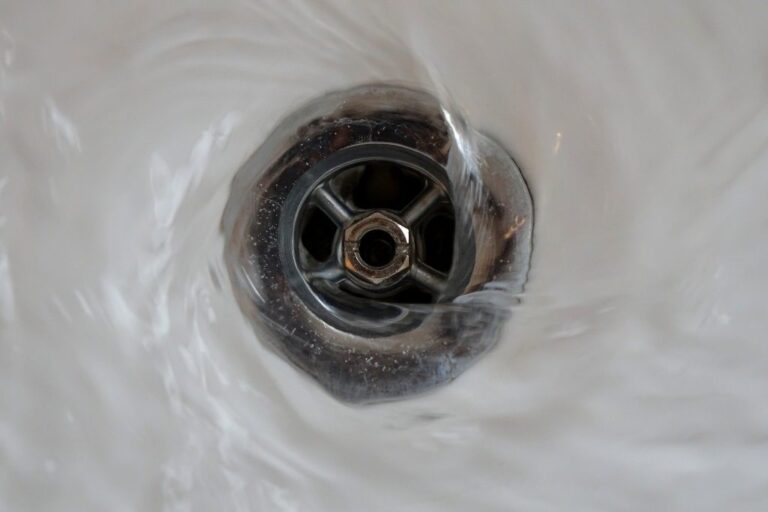
A dripping faucet is more than just an irritation; it can waste a significant amount of water. Just imagine, a house with three dripping faucets can waste over 100 gallons of water each year if each faucet drips just one drop every minute.
However, you can eliminate those pesky leaks for good with the right tools and some know-how. Where should you start your repairs? Is it the water line, the handles, or perhaps the faucet itself?
By the end of this guide, you’ll have a solid understanding of how to tackle a leaky faucet and save water year after year.
-
Start by Removing the Handle Caps
The first step in your repair journey is to turn off the water supply. Failing to do so might lead to a bigger mess and a call to a plumbing professional. Locate the shut-off valve right beneath your bathroom sink.
Once the water is off, close the drains and carefully take off the decorative cap at the top of each faucet handle. Look for the small circle with a “C” or an “H” on it. You’ll need a flathead screwdriver to pop off the cap and reveal the screw underneath.
To stay organized as you work, lay a towel on the counter or floor and keep the parts in the order you remove them. This will make reassembling the faucet much easier.
-
Remove the Handles
Use the correct screwdriver to loosen the screws holding the handles in place. Usually, this is a flathead screwdriver, but an allen wrench may be necessary for hex screws. Choosing the right tool will help prevent stripping the screws.
Typically, the screws will come out without much effort, allowing you to lift the handles off. If they seem stuck, a bit of penetrating oil can help.
-
Take Off the Stem Nut
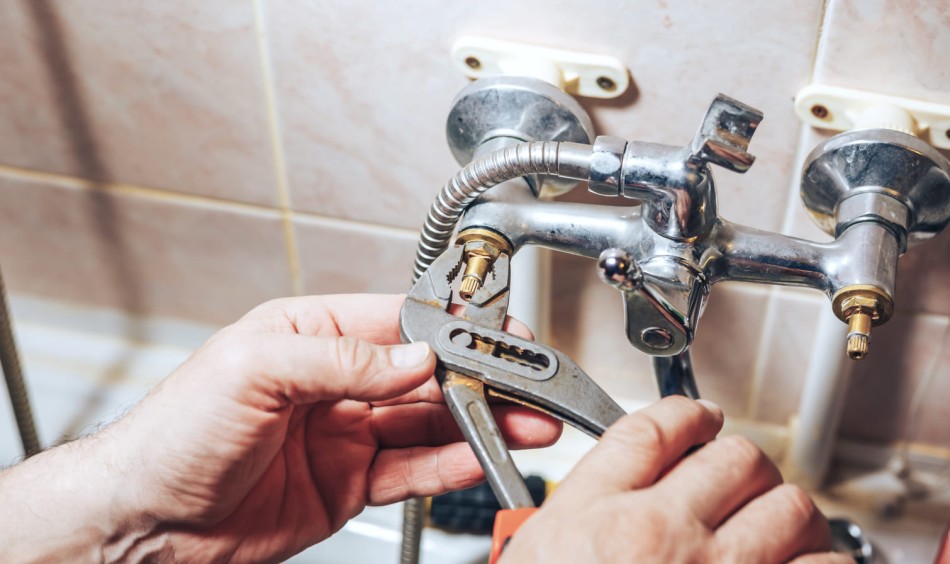
Next up is the stem and stem nut. The stem nut secures the stem in place, and you’ll need a wrench to remove it. Be careful here; using a wrench with aggressive teeth can damage your plumbing. Opt for a toothless wrench to avoid this issue.
-
Inspect the O-Ring
Now it’s time to focus on the faucet itself. Pull out the stem and check the O-ring and seat washer. The O-ring is a rubber ring that prevents water from leaking through the faucet handles. If it’s damaged or worn, it’s likely the source of your leak.
Simply replace it with a new O-ring, which you can find at a local hardware store.
-
Replace the Seat Washer
Finally, to complete your leaky faucet repair, you’ll need to replace the seat washer, located at the bottom of the stem. This washer gets compressed whenever you turn the handle to stop the water flow.
The seat washer is usually the culprit behind your leaky faucet. Before you take it out, check for a screw that might be securing it. If you find one, simply remove the screw first, and then you can take out the seat washer.